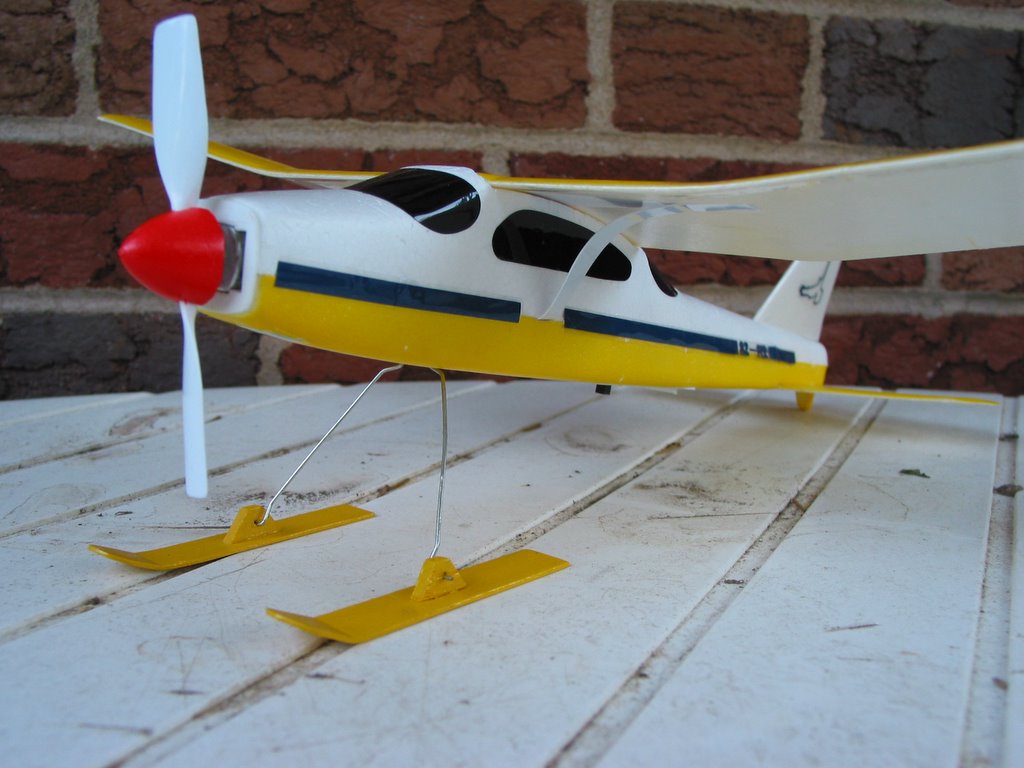
 Pilot DS is obsessed with making snow skis as opposed to buying them. He quickly rubbed off on Pilot JS and now JS is on the bandwagon.
Snow skis are rather easy to make and can be done affordably. All you need is (1) a sheet of balsa, (2) a hobby knife, (3) a sand paper block with fine grit sandpaper, (4) a bowl of water, (5) polyurethane, (4) a set of small vice grips -- preferably hobby vice grips, which can be purchased for a few bucks at Harbor Freight Tools, (5) spray paint, and a (6) set of springs. The total cost for a set of ten skis costs me about $6.00 or $7.00.
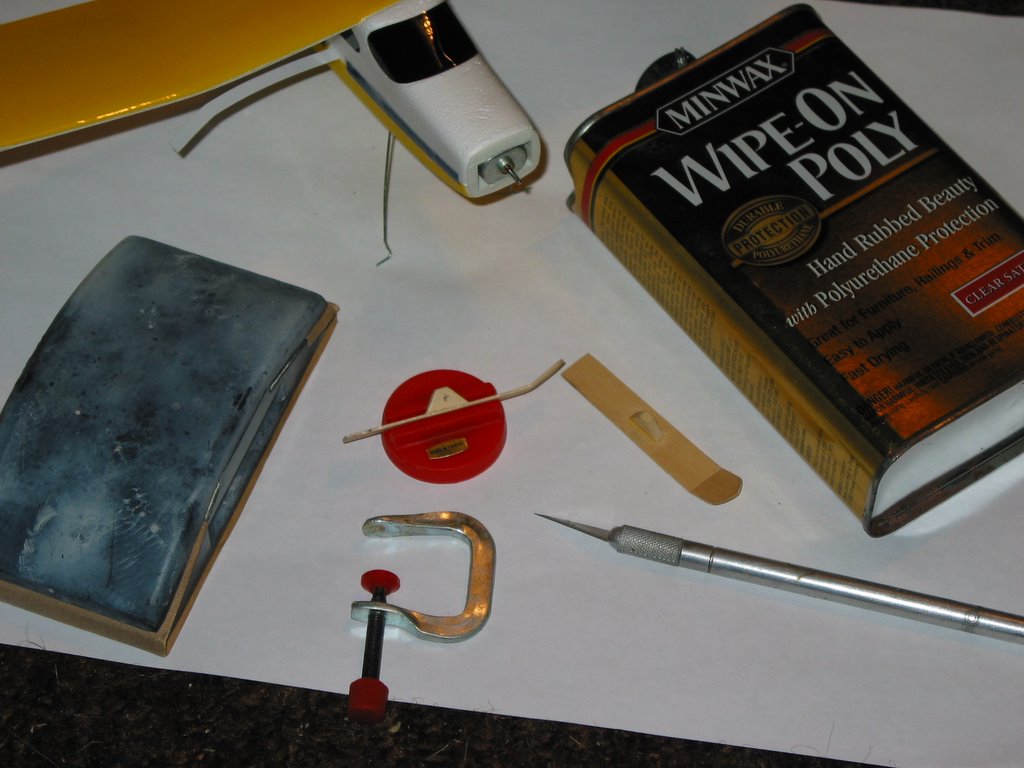 The first thing to do is use a pencil and very lightly sketch out the shape of the skis. Then cut the skis from the balsa sheet using your hobby knife. After that sand out the shape of the ski. Soak the skis in a bowl of water for 10 minutes. Remove the skis and using the vice grip lock the to a cutting board or workbench. Push a pencil under the nose of the ski to create the lip shape for the tip of the ski. Use a hair dryer to solidify the new shape of the ski -- this may take 5 minutes. Now cut out the wheel bracket and glue it to the ski using white glue. You may also decide to use a balsa wood brace down the length of the ski to reinforce it, if so do it now. Once it dries lightly sand everything down and wipe it clean with a micro fiber cloth. Now you are ready to use the polyurethane. I recommend applying 7-10 light coats. Allow skis to dry well before the next coat. After the final coat you can lightly spray paint your skis -- with outside furniture paint -- to match you skis. The final step is mount a spring from the front of the ski to the axel so that the ski can flux as you dive over snow. I highly recommend inserting a wheel pin and gluing it inside of the ski so when you mount the axel inside the ski the ski can easily rotate. We currently don't have snow, but once we do we will video tape the effectiveness of our skis.
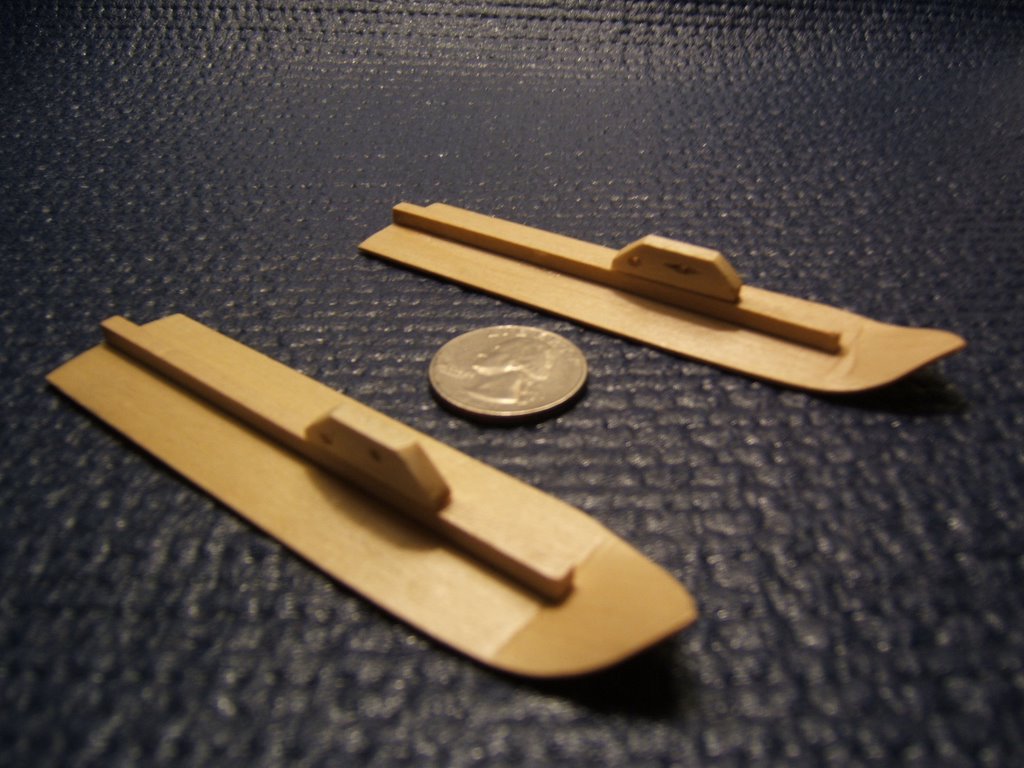
0 comments:
Post a Comment